This No-Knead Bread recipe is one of my absolute favorite recipes ever. The bread is crusty on the outside and light and fluffy on the inside, and it is so easy to make!

I have always loved to bake. And to eat. There are numerous pictures of me as a child with cake batter or cookie dough all over my face, and I haven’t stopped since then. Cookies are my specialty, although I have dabbled in it all. However the one thing I had not tried until last January was bread. Good ‘ol yeast bread. Just the thought of working with yeast scared me, and there were all of these scary words associated with baking bread, like proofing and rising and kneading. So I just never attempted it, until a long weekend visiting my aunt when she taught me that I didn’t need to be afraid of bread. That is was surprisingly easy. And I have been unstoppable ever since. I am obsessed with baking bread! The smell of fresh bread baking is intoxicating, and I feel so satisfied when it comes out of the oven. However if the thought of the whole process still scares you, I have the perfect recipe. No-knead bread, inspired by Jim Lahey
and America’s Test Kitchen.
It makes the perfect fluffy white bread with a thick crackly crust, and you don’t even have to knead the dough! Ok, you do have to touch it, but only a few times, I promise! All you need is time, because this dough needs to sit for 12-18 hours, and then another 2 hours before it bakes. I really think this no-knead bread recipe will change your (baking) life!
And all it takes are 4 simple ingredients. Bread Flour. Table Salt. Yeast. Water. and, a Dutch Oven.

I like to use King Arthur flour. I have used both active dry yeast and rapid rise, and they have both turned out fine. Mix together the ingredients, cover the bowl with plastic wrap, and let it sit at room temperature for 12 – 18 hours. I like to make the dough on a weekend night before I go to bed. Then sometime the next morning or early afternoon I finish the process.

After 12-18 hours, the dough will have doubled in size, and the surface will be dotted with bubbles. This is when you actually have to touch the dough. But it really isn’t scary. I love the feel of the dough! Turn it out onto a well-floured board. Flour your hands, and fold the edges of the dough in toward the center to make a nice ball. That’s it!
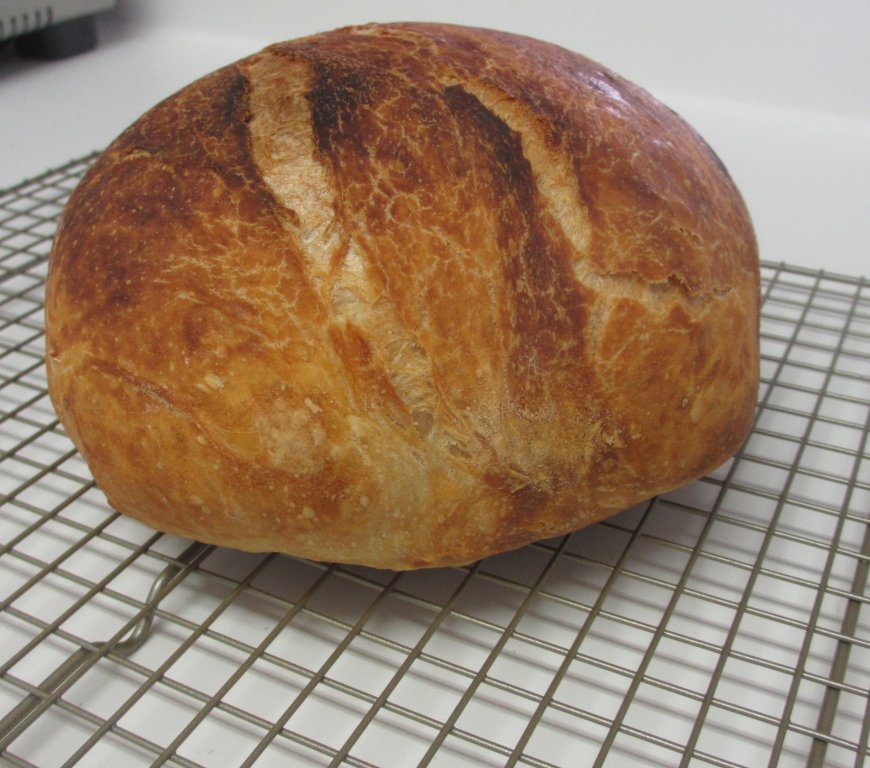
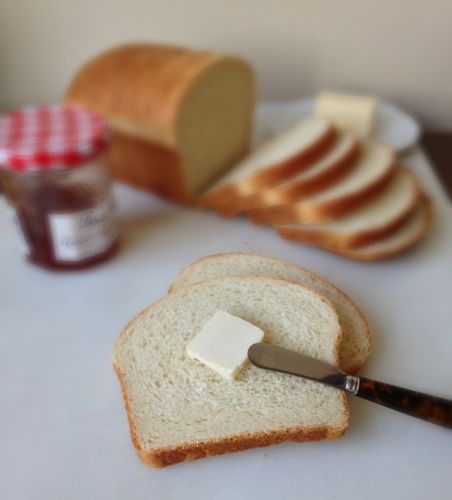
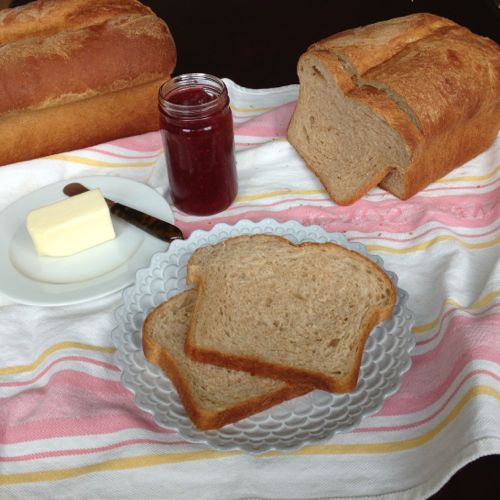
When your bread starts to cool, it will make a crackling noise. be sure to listen to it! I have been known to make my husband come listen to my bread. I just love the sound. All recipes tell you to cool the bread before you slice it, but really, who can resist eating a warm piece of bread, spread with melty butter? Heaven.

This No-Knead Bread recipe is one of my absolute favorite recipes ever. The bread is crusty on the outside and light and fluffy on the inside, and it is so easy to make!
Ingredients
- 3 Cups (400 grams) Bread Flour
- 1/4 tsp instant or other active dry yeast
- 1 1/4 tsp (8 grams) salt
- 1 1/3 cup cool water (might need a bit more)
- extra flour for dusting
Instructions
- Equipment: a 4 1/2 to 5 1/2 quart enameled cast-iron pot with a tight fitting lid (I use a Le Creuset Dutch Oven)
- In a large bowl, stir together the flour, salt, and yeast. Add the water and using a rubber spatula mix until a shaggy ball forms. If the dough does not feel sticky to the touch, add in a bit more water. Cover the bowl with plastic wrap and let it sit at room temperature for about 12 - 18 hours, until the surface is dotted with bubbles and the dough has more than doubled in size.
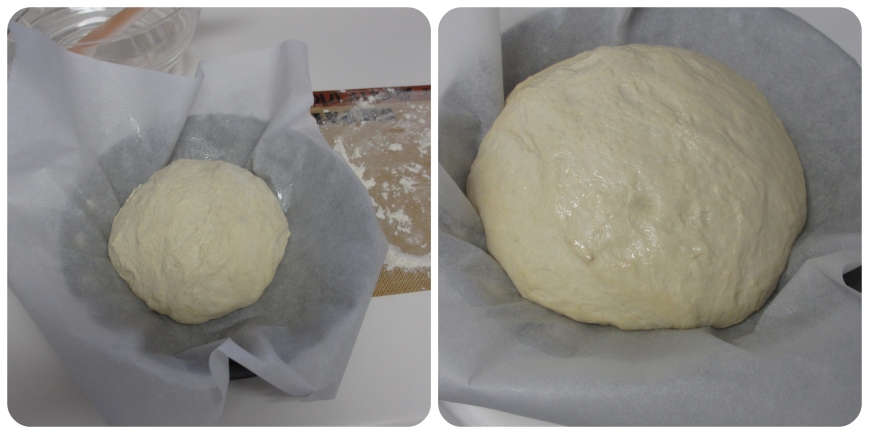
- When the slow rise is complete, lay a 12 x 18 inch sheet of parchment paper inside a 10-inch skillet and spray it with nonstick cooking spray. Generously dust your counter, a large cutting board, or a silicone mat with flour. Use a rubber spatula to scrape the dough out in one piece. Using lightly floured hands, lift the edges of the dough and fold them in toward the center. Nudge and tuck in the edges of the dough to make it round. Transfer the dough, seam-side down, to the parchment-lined skillet. A bench scraper is helpful for doing this. Spray a piece of plastic wrap with nonstick cooking spray and cover the dough loosely with the wrap. Place the dough in a warm, draft-free spot to rise for 1 to 2 hours. The dough is ready when it is almost doubled, and if it holds an indentation when gently poked with your finger.
- Half an hour before the end of the second rise, preheat the oven to 475 degrees F, with a rack in the lower third position, and place a covered pot (see equipment note at beginning) in the center of the rack.
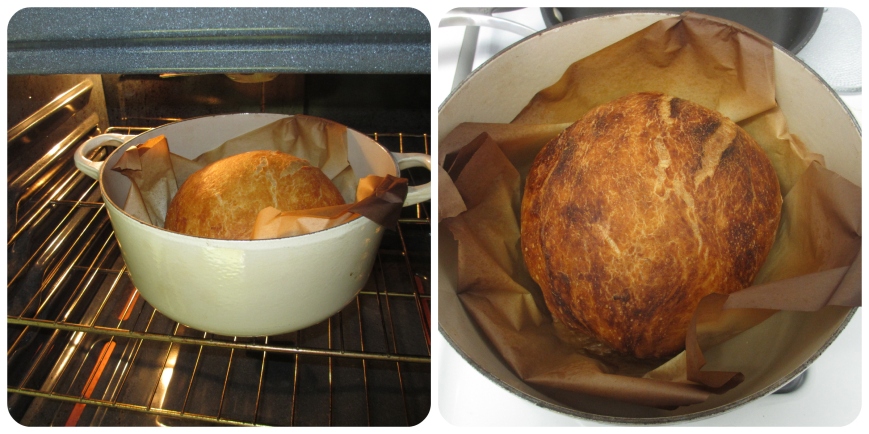
- After 30 minutes, take the pre-heated pot out of the oven, and carefully transfer the dough into the pot by lifting the parchment paper and lowering it into the pot. Quickly cover the pot and put it in the oven. Bake for 30 minutes. Remove the lid and continue baking until the bread is a deep chestnut color, 10 - 20 mins more. The parchment paper will get brown, but it will not burn. Make sure to check the bread so it doesn't burn, because every oven is different. An instant-read thermometer will register 210 degrees, or you can tap the bottom and listen for a hollow sound. Carefully remove the bread from the pot and transfer to a wire rack to cool (or if you’re like me just slice into it within 5 minutes and devour - but the bread really is best if it rests for awhile!).
Notes
Recipe adapted from My Bread by Jim Lahey
More great bread recipes!
Follow Chez CateyLou around the internet!




MMMM…can almost smell that bread! I will give this a try. Is the parchment paper standard for this process? I’ve never used it this way.
Beautiful bread!
Hi Victoria! Thank you so much. The parchment is a trick I learned from America’s Test Kitchen, and I highly recommend it. It makes transferring the dough into the pot so much easier. Happy baking!
Excellent! Thank you for the tip!
Gorgeous! I love baking bread – not scary at all! This one’s next on my “to bake” list. 🙂
Thanks, Antoinette! This is one of my favorite breads to bake.
I make this bread once a week and love how you use paper to get it out thanks for the tip!